Complete Instructions after pictures with pictured instructions and parts list.

got a couple of things done today.
drilled my intake holes
and burn baby burn....lol
drilled my intake holes
and burn baby burn....lol


Parts Needed:
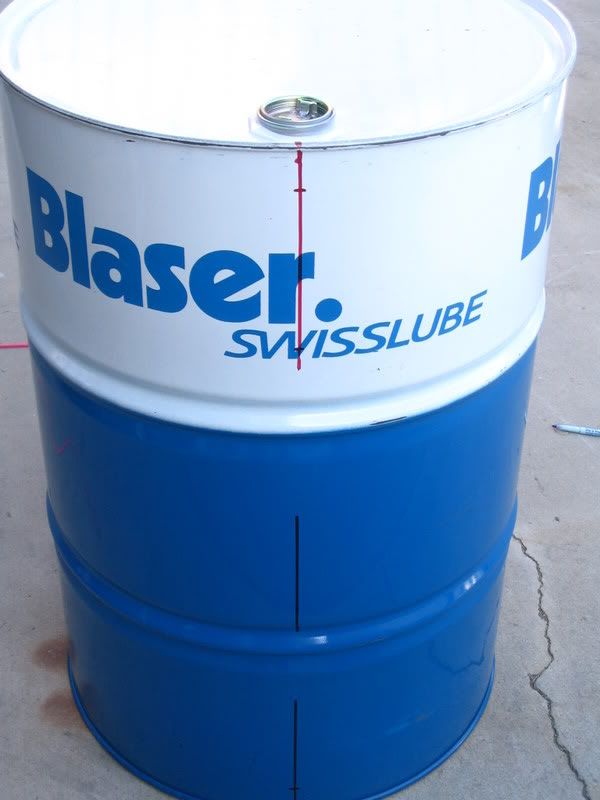
1 - 55 Gallon Food Grade Steel Drum
1- 22.5" Inch Weber Grill Replacement Grate.
4 - 3/4" Black Steel Pipe Nipples
3 - 3/4" Black Steel Pipe Caps
1 - 3/4" Brass Ball Valve
8 - 4" Stainless Steel Bolts/nuts/lock washers(if you choose the non-welding method)
1 - 12" x 34" #9 Expanded Steel Grate
1 - 4" x 36" #9 Expanded Steel Grate
1 - 10" Weber Replacement Charcoal Grate
1 - Thermometer
Instructions:
(this is from Norcoredneck on BBQ-Brethren.com)
Divide drum into 3 sections
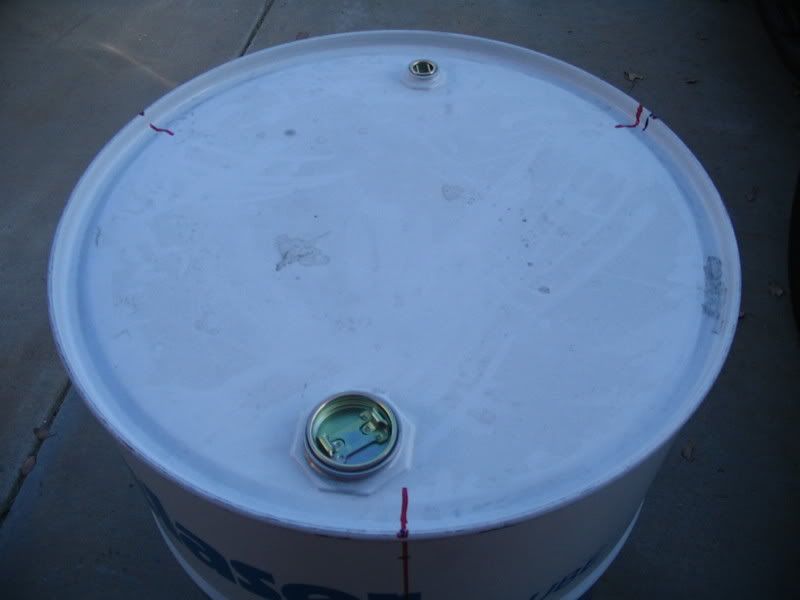
Layout grill holes. I chose 1 3/4"" and 8" from top. You should assess the drum you are using.

Layout Intake holes. I chose 2" from bottom.

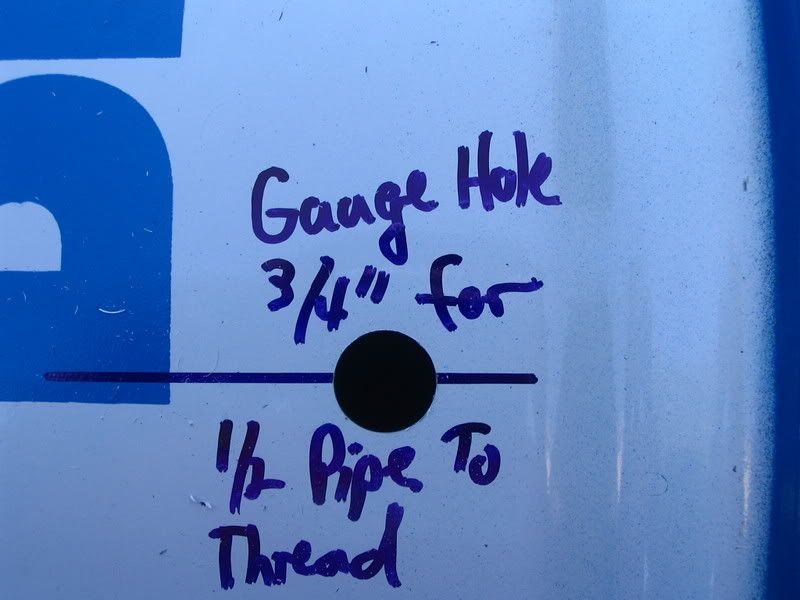
Layout Gauge hole.
I chose 9" (1" below lower rack)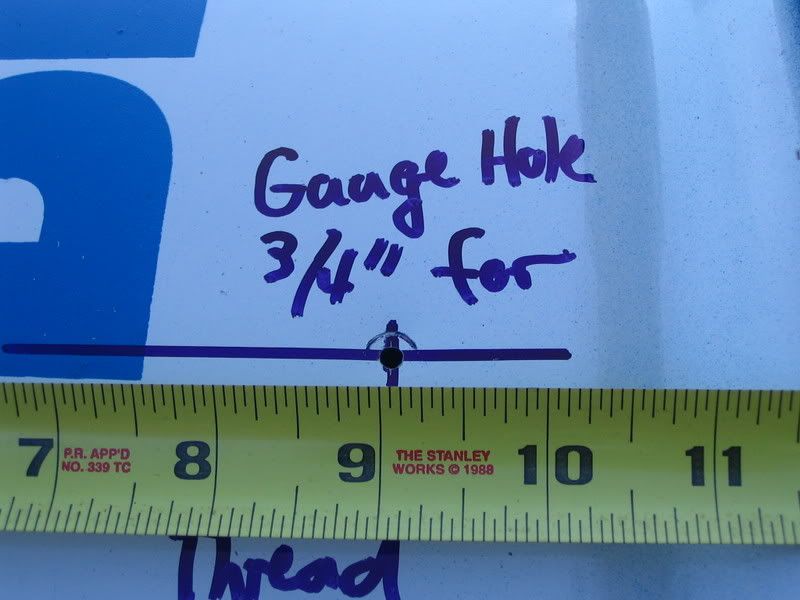
Centerpunch marks.
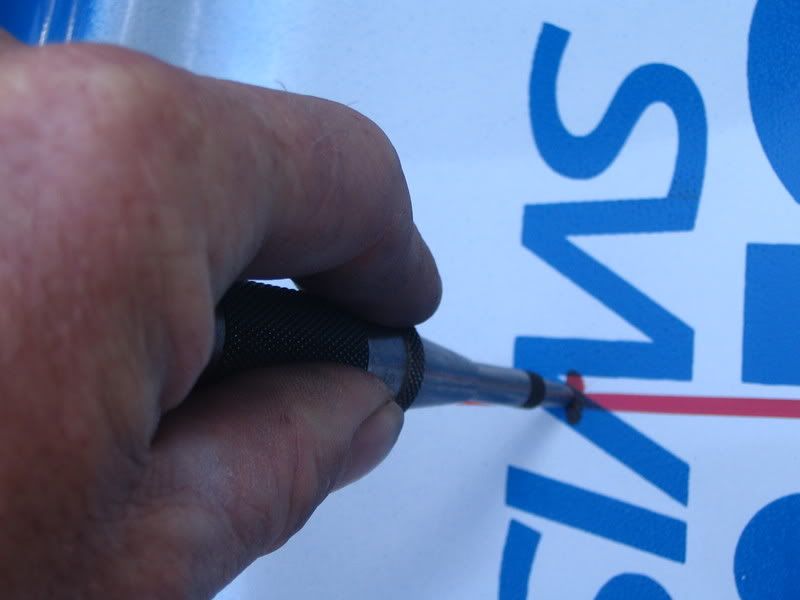
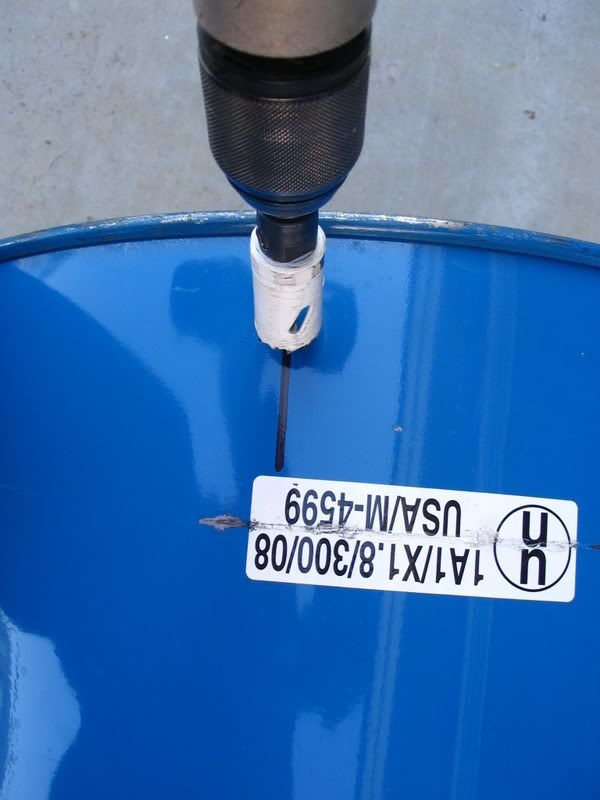
Drill pilot holes.

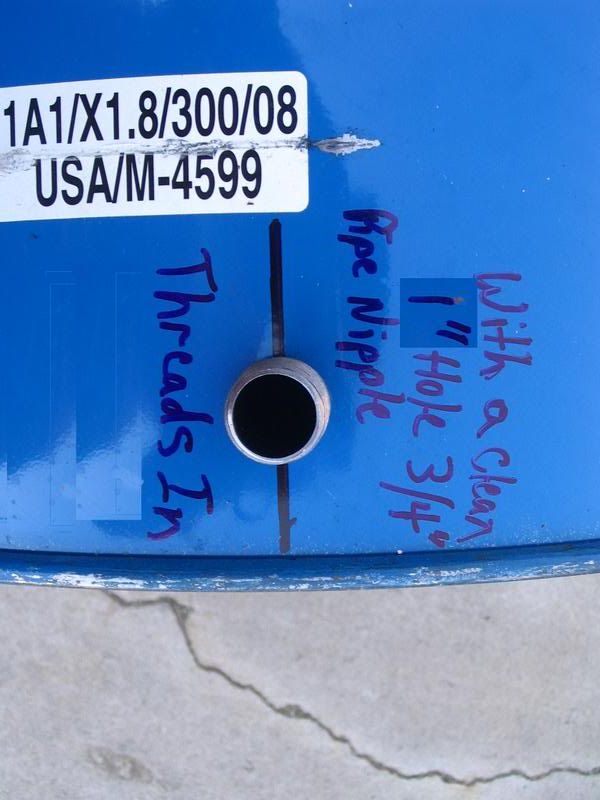
Drill holes for Intake nipplesI use 1" which lets you thread 3/4" nipple (clean round hole)
Drill out holes for Grate supportsI am going to use 1/4" bolts. I use Unibit to get clean holes in thin metal.

Thread in 3/4" close nipplesI use cap to protect threads and screw in as far as possible.
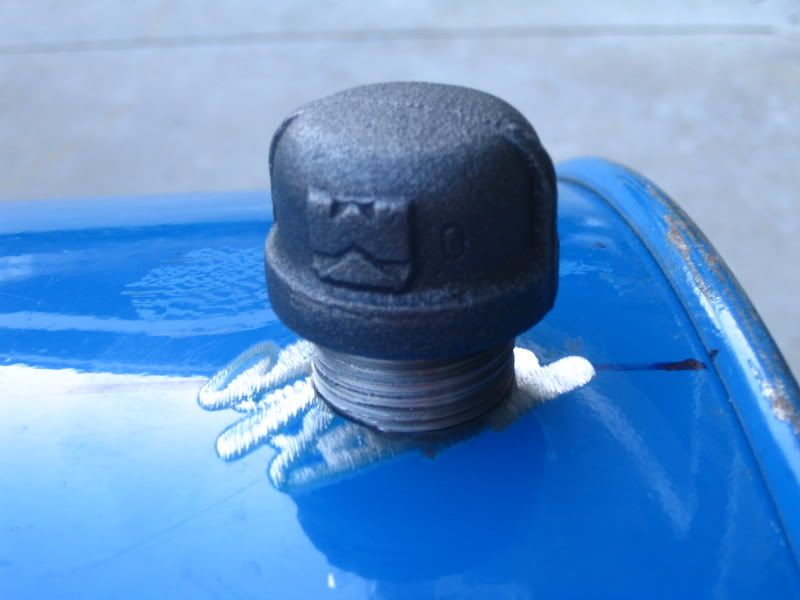
Weld in Nipples

Install 3/4" ball valve.

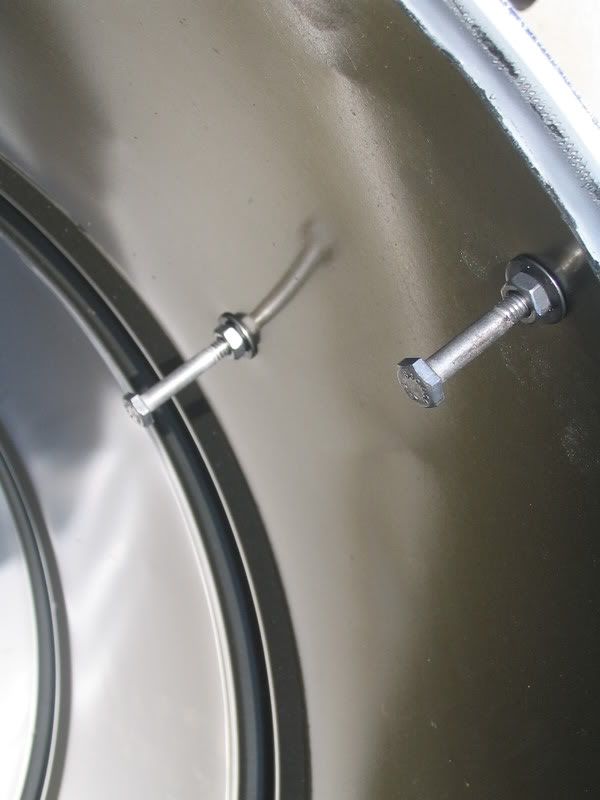
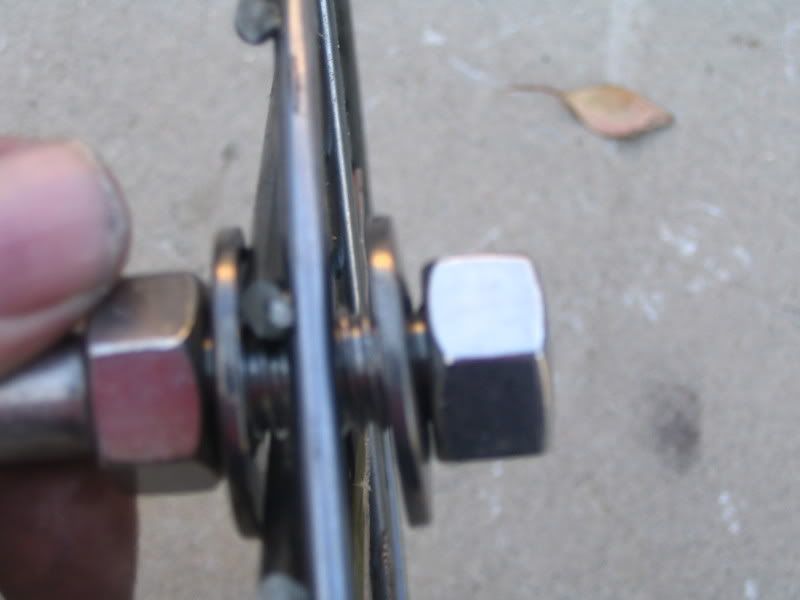
Install grate supports.I use this set up. I go hex head in. It seems to keep grate from slipping off when setting in. Also nice when you spin grate.
I use 1 3/4" for top and 2" for bottom.
I use 1 3/4" for top and 2" for bottom.
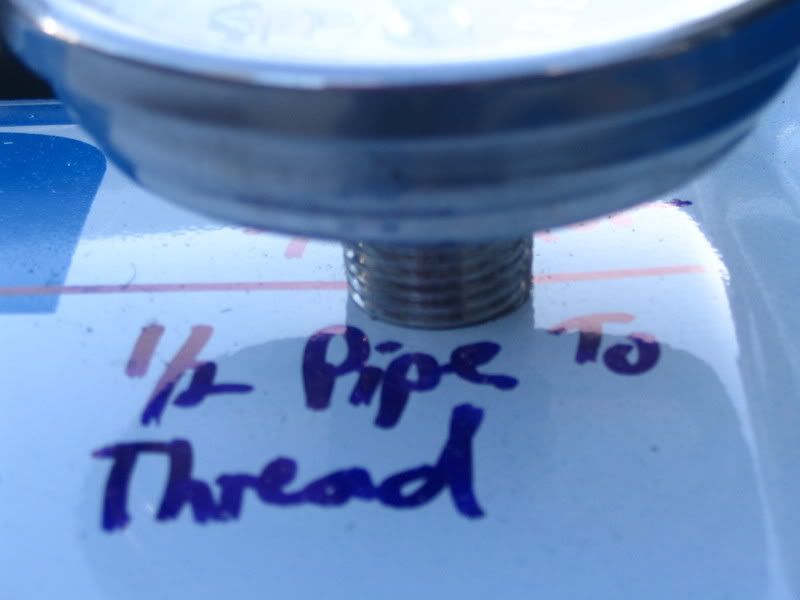
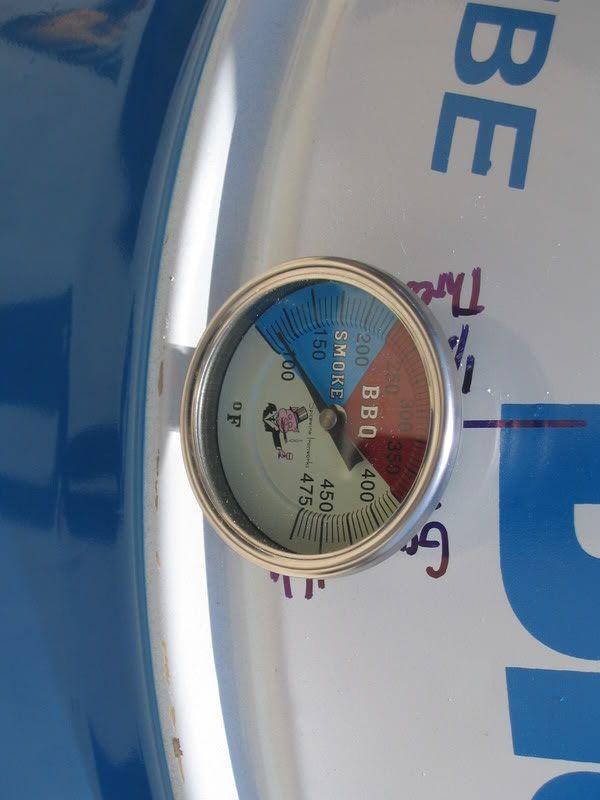
Install gauge.Again use conduit nut that comes with gauge to lock in.
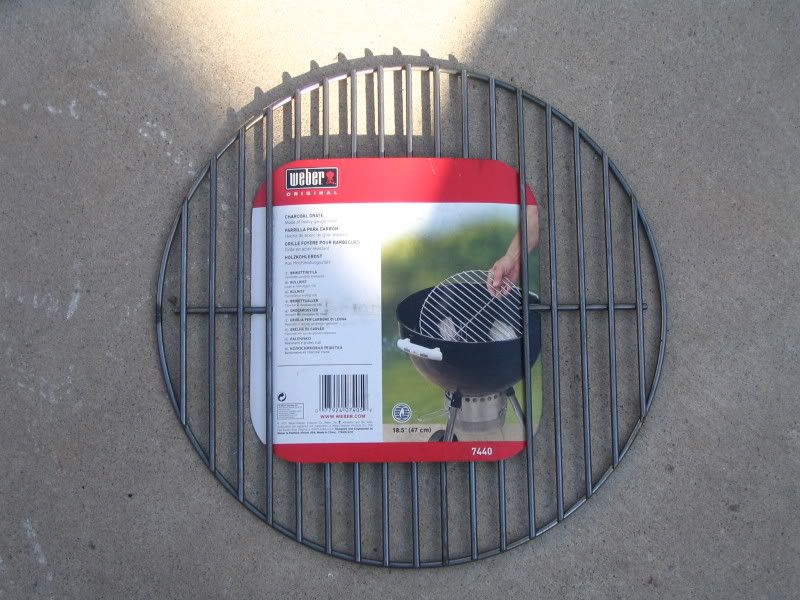
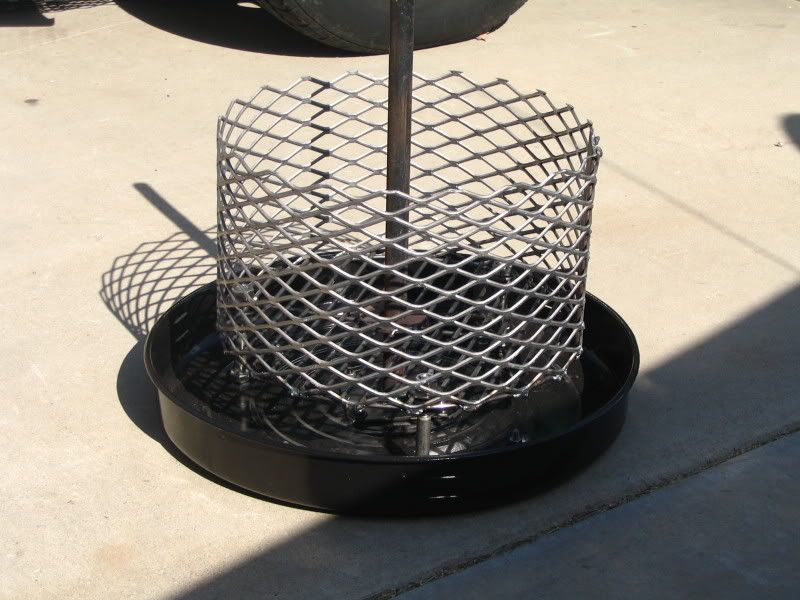
Making Charcoal basketThis is the toughest part. I start with a replacement charcoal grate from a 18.5" weber kettle. I purchased at Home Depot
This is a view of legs. I chose 1/2" bolts 3 1/2" long. I use 2 washers and 2 nuts to capture grate.
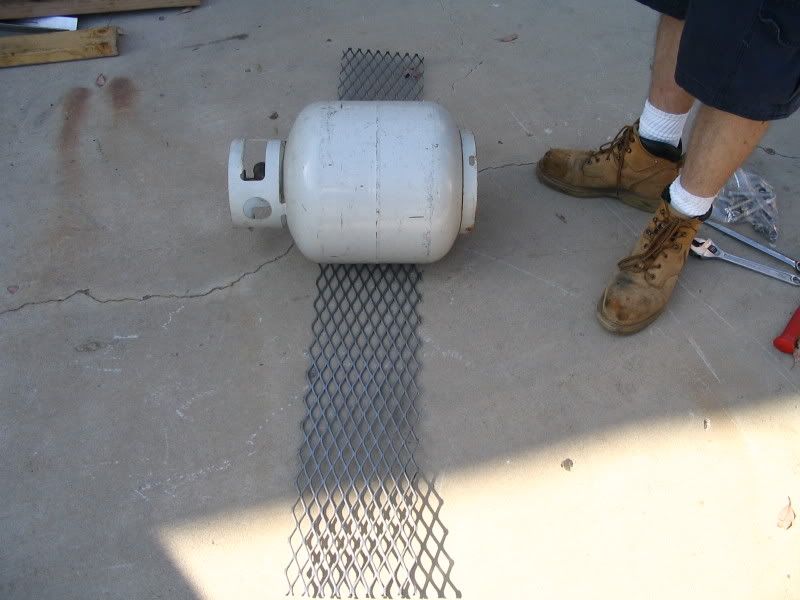
I use a piece of 3/4 #9 expanded metal 8" wide X 44" long.

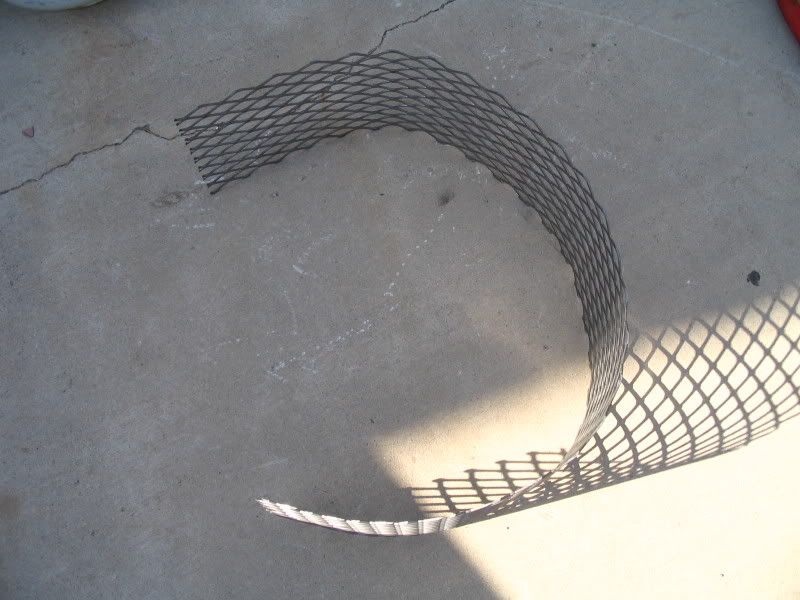
Attach it to weber grate. I welded but you can use wire and twist and bolt where overlaps.
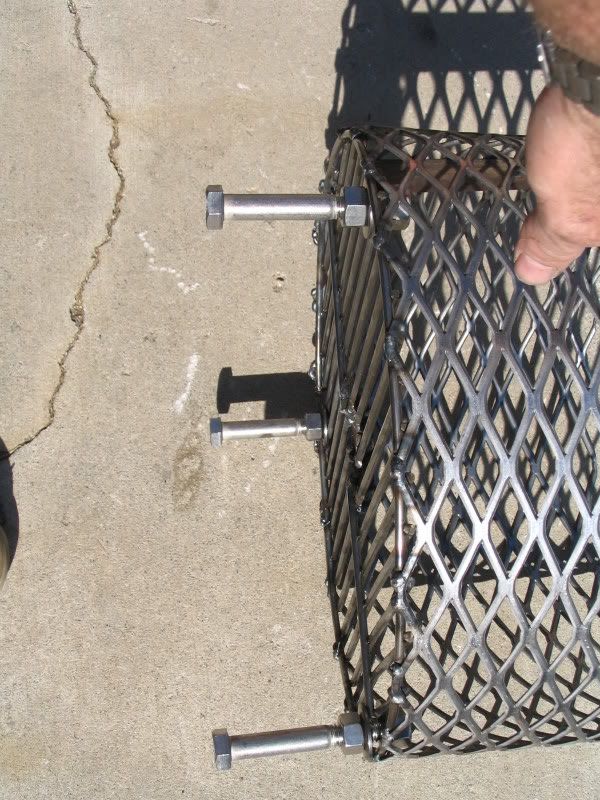
Here is it complete
No comments:
Post a Comment